Designers are constantly looking for new ways to organize their work and collaborate with others. Providing a template for your work helps put everyone on the same page. A little organization and clear labeling go a long way.
Benefits of creating a project template
Creates a space for experimentation
An excellent first step when working with a new team is to align on how best to structure the work. The goal is to create a project template where designers, developers, strategists, writers, and others can collaborate in a central space, explore ideas, get feedback, and work iteratively.
Provides clear organization, so people are free to be creative
Having a structured place to play, where you can easily reference past explorations, allows ideas to flow more freely. Creativity is messy and iterative. In this spirit, it helps to have a clear order of where to find specific work. It is helpful to include annotations for things like key features or items that need specific feedback and to label screens clearly, describing how each screen relates to another.
Improves asynchronous collaboration
More often than not, today’s teams work across time zones. Asynchronous collaboration is more important than ever to keep projects moving forward. Working in iterations where things are clearly labeled helps everyone know where things are. Including a video walk-thru for a particular round of work gives team members the ability to watch on their own time and for everyone to be in sync even though they're apart.
It's important to continuously look for ways that empower team members to contribute on their own. For example, using auto layout in Figma enables writers to add copy to a design without needing the help of a designer, which is especially important for teams that span across time zones. A win-win for both!
When you need to innovate, you need collaboration.
Project organization
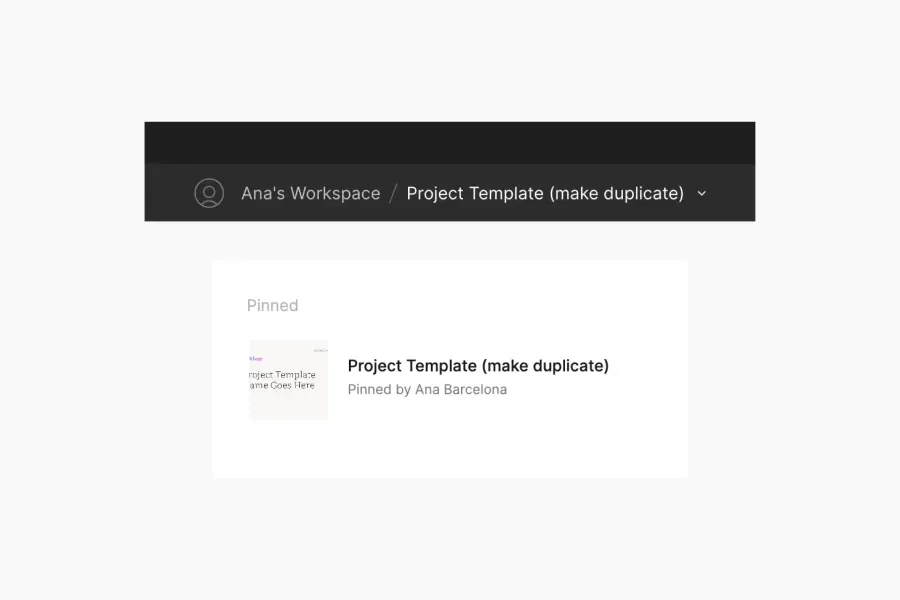
Pinning your project template
It's helpful to start by creating a project template file with a prompt to make a duplicate, then pin it to the workspace for easy access. Designers can begin their work by duplicating this template file, renaming it, and inviting others to the project for collaboration and contribution.
Pages within the project template
Always including a cover or title page will make scanning projects easier. For example, you can create a branded cover page with the client logo, project title, and date.

Cover page example
Within the project, organize pages based on the design process, starting with discovery and ending with the developer hand-off. The page structure consists of five sections: Empathize, Define, Ideate, Documentation, and Design hand-off.
Empathize
- Creative/Tech Brief: An overview of the project outlining the goals and needs from both a creative and technical perspective.
- Information Architecture (IA): IA and top-priority user flows that lay out where we are and where we want to go.
- Research: Competitive analysis, market, and user research.
Define
- Presentation model: An outline of the business goals and user needs that lists out specific page patterns, components, and their parts. Learn more about presentation modeling
- Wireframes: An illustration of all the things defined in the presentation model laid out by priority.
Ideate
- Inspiration/Mood boards: A visual representation of inspiring design elements that reflect a design's style
- Design: High-fidelity design mock-ups.
Documentation
- Style Guide: A collection of colors, fonts, icons, textures, and patterns used to create a new design system or to bring into an existing one.
Design Hand-off
- Final Designs: A list of all final designs across all breakpoints. Annotating functionality and including a video summary is another way of working asynchronously with developers.
Conclusion
The overview of this project template is intended to help you and your team create a space where you can experiment and get messy together. With a little organization and clear labeling, collaboration, and creativity can thrive.
Further Reading
Check out articles on how others have approached organizing their work in Figma:
- How to keep your Figma files organized for your design team
- A Designer’s Balancing Act: Staying Creative and Organized in Figma
- How to organize your Figma files for your design system
- Team, project, and file organization