Drupal's Webform module is great. It allows users to create forms with all sorts of field types through a UI that's easy to use. It's a great friend to marketers. We use it to power our contact form, collect webinar registrations, and as a lead capture for ebooks.
But data trapped in Drupal doesn't do much good. Data needs to move and flow. It needs to be exported and imported and analyzed and followed up with. It needs to be used.
You can view Webform results on your Drupal website and export them in various formats, such as a CSV or tab-delimited file. But depending on the number of your forms and what you want to do, that could be time-consuming. You can automate it with custom plugins and modules, but that takes development time, and anything you do will need to be maintained to keep up with API changes.
But there is a way to automate the exporting of your Webform data and the sending of it to other services and with zero code. Any marketer can do it. We've been using it to streamline some of our processes.
The Webform plugin that makes this possible
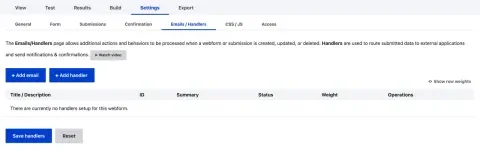
You don't need any extra modules to get this to work. First, go to the Settings→Emails/Handlers of a Webform. Click on Add handler.
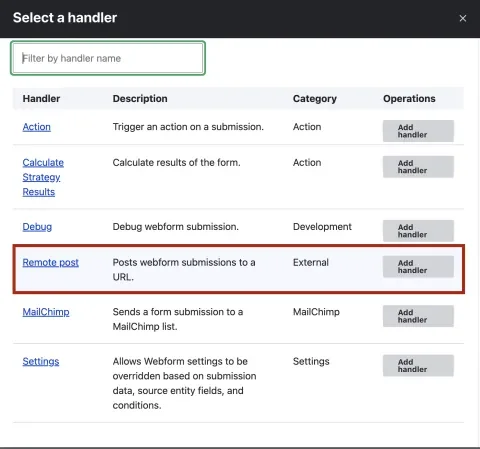
Find Remote Post and add the handler.
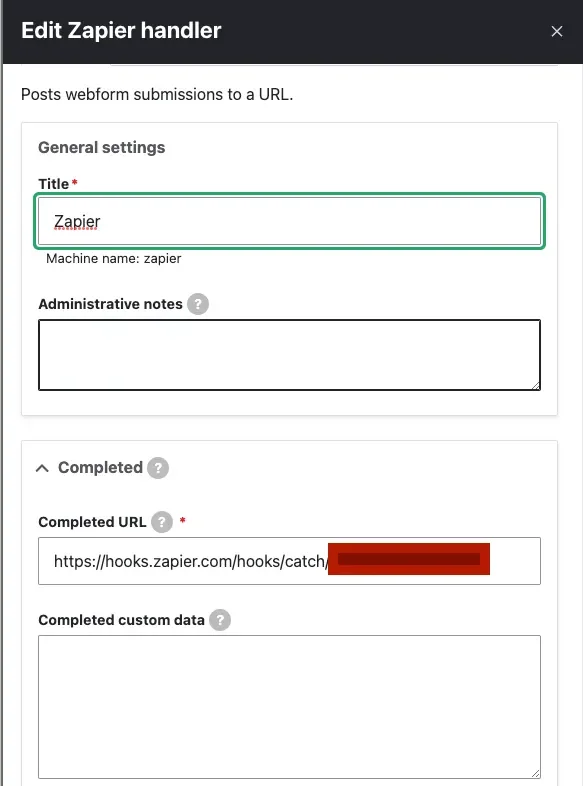
Give it a good title. Since we'll be sending results to Zapier, we'll call ours "Zapier." The key field to focus on is Completed URL. You can do other things, but we'll keep this as simple as possible while still being useful.
Next, we need to go to Zapier.
Getting the data into Zapier
You can use Zapier for free for many things. However, for what we want to do, you'll need a paid account because it requires a premium feature. You can usually get a free trial of the premium features to see if it works for you.
Zapier lets you create automations called Zaps, which have Triggers that will make them run certain Actions. A single Trigger can have multiple actions attached to it.
First, we'll create a Zap and choose a Webhook for our Trigger. Choose the Catch Hook event as shown below.
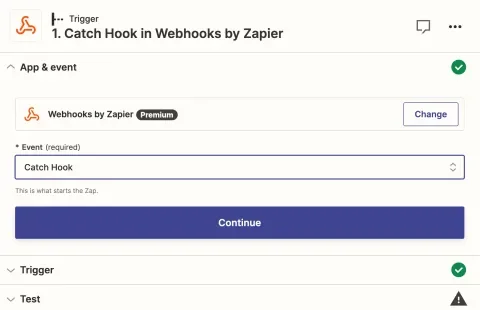
Next, you'll have the option of entering a Child Key. We will ignore this because we don't need it and have a simple form we want to catch. You might want to use this if you only want access to a subset of the data from a very large or complicated form.
After you click Continue, Zapier will give you the webhook URL and ask for a test. This is the URL you will put in the Completed URL field of your Webform.

After you put the webhook URL in your Webform handler, a new field labeled Completed custom data will appear. You can use this to send Zapier hardcoded data or pass along data from tokens. Why would you want to do this? Maybe you want to use the same Zap for multiple Webforms and use this to pass the webform name or a tag you want to attach to a CRM entry. For now, we're going to ignore it and keep things simple.
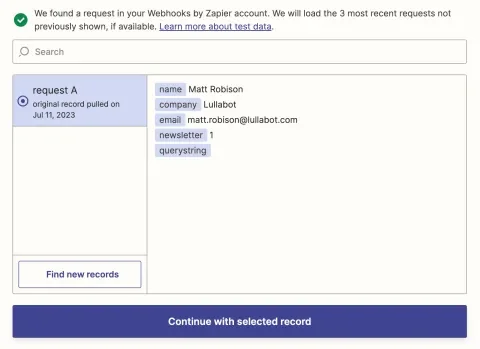
Save your handler and then visit your WWebform on your Drupal website. Fill it out and submit it with test data. Go back to Zapier and press the Test trigger button. You should see your test data on the screen, and if everything looks good, click Continue with selected record. You'll use this data to help set up your actions.
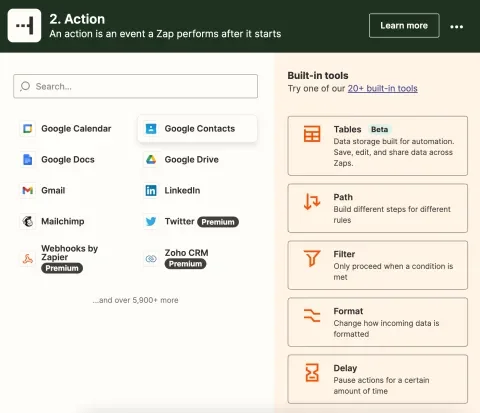
What do you want to do with your Webform data? For us, we send it straight to our CRM as a lead. Sometimes we add it to a Google Spreadsheet. Maybe you want to automatically add a reminder to your calendar to follow up with this person. Or maybe all three at the same time. If/then blocks are available in Zapier, so you can check if the newsletter value is "1" and send it to the appropriate newsletter list. This is especially useful if your email marketing provider doesn't have a Drupal Webform plugin.
You still have your data inside Drupal if you need it, but now it's doing more work for you.
Go forth and make your life easier
We won't cover setting up specific actions because there are thousands of them, and Zapier already has excellent documentation. Now that the data has reached Zapier, you are free to do anything you want, and you haven't written any code. Most of the major CRM providers have Zapier integrations. Look for what you want to do on their website.
But don't feel like you have to be locked into Zapier. Other platforms aim to do what Zapier does, like Make and IFTTT. Test things out. Play around.
If you have your own workflows and automations that have made your life easier, we'd love to hear about them. Feel free to reach out on Twitter or LinkedIn.